Skip to content
Explore Alberta
Camping
Rocky Mountains
Calgary Area
Edmonton Area
Southern Alberta
Central Alberta
Northern Alberta
Rural Journeys
Seasonal
Summer
Halloween
Winter
Christmas
The Mama Life
Food
Body & Mind
Style
Parenting
Working Mama
About
Contact Us
Our Founders
Contributors
Alberta Mamas in the Media
Work with Alberta Mamas
Search for...
Navigation Menu
Search for...
Navigation Menu
Explore Alberta
Camping
Rocky Mountains
Calgary Area
Edmonton Area
Southern Alberta
Central Alberta
Northern Alberta
Rural Journeys
Seasonal
Summer
Halloween
Winter
Christmas
The Mama Life
Food
Body & Mind
Style
Parenting
Working Mama
About
Contact Us
Our Founders
Contributors
Alberta Mamas in the Media
Work with Alberta Mamas
diy
Mother’s Day DIY #TakeOverThursday
by
Christine Reeve
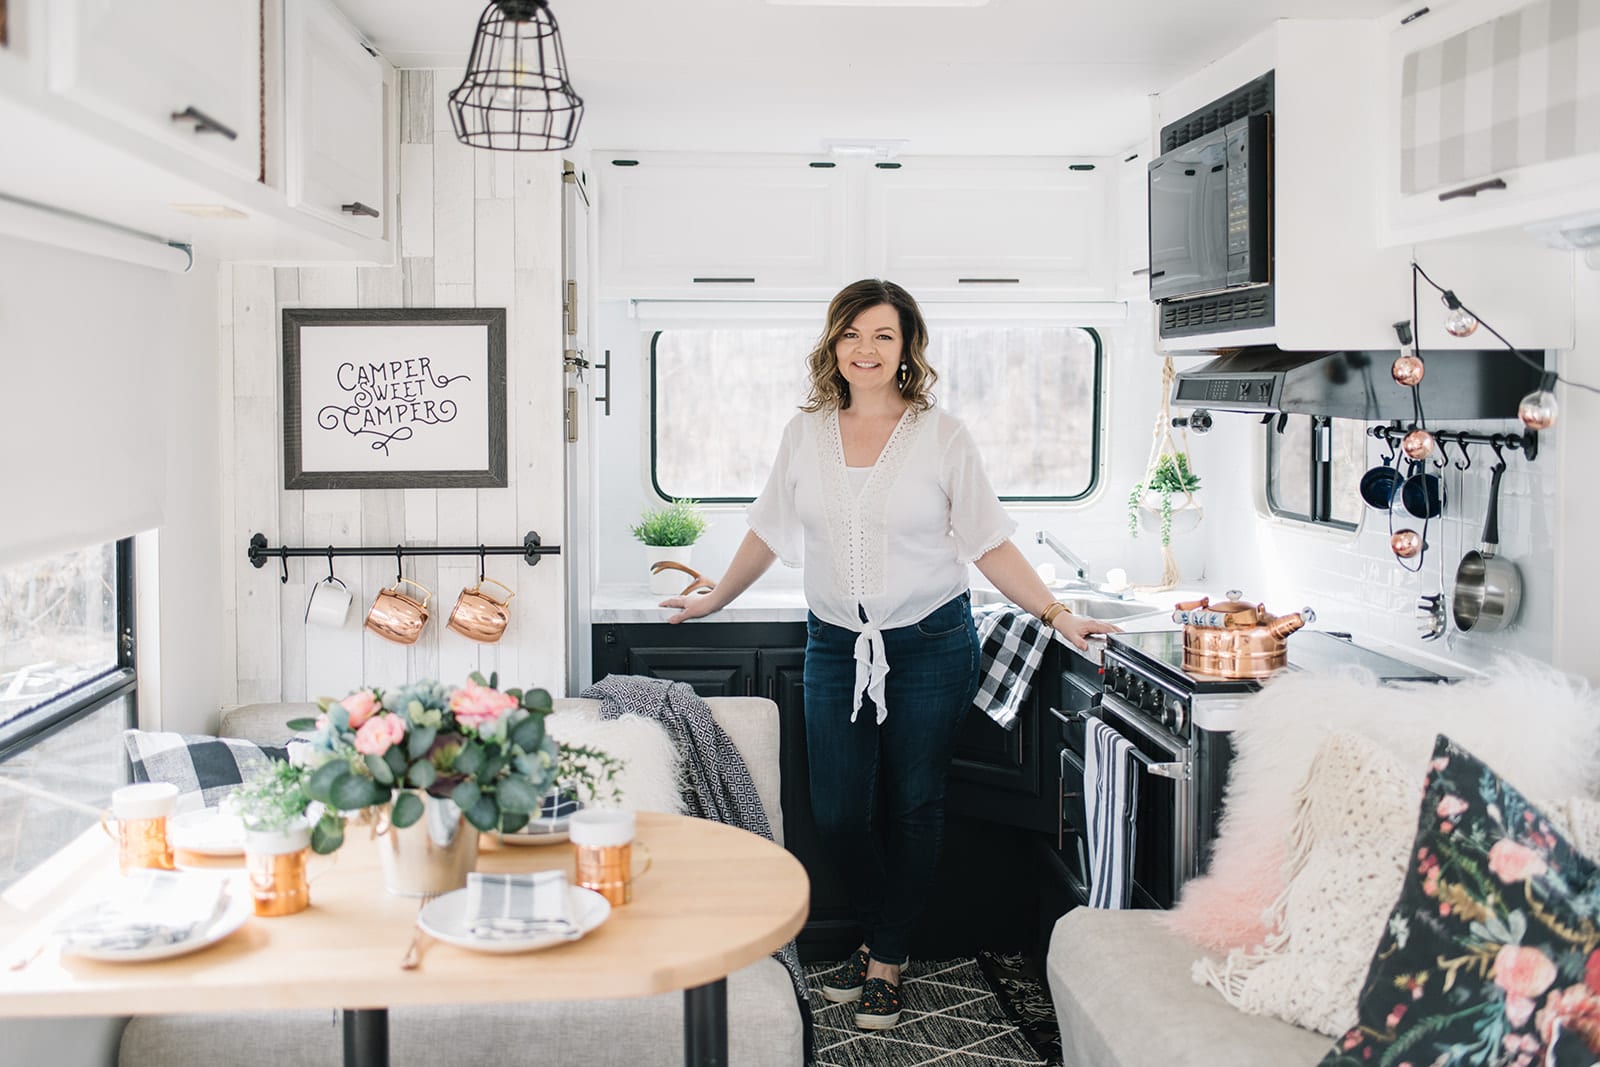
Interview with The DIY Mommy (+ Win Tickets to the Edmonton Renovation Show)
by
Kim
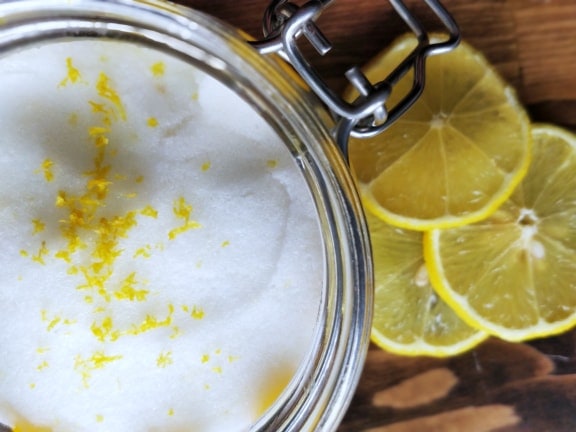
Cheap Self-Care Ideas and a DIY Sugar Scrub Recipe
by
Alberta Mamas
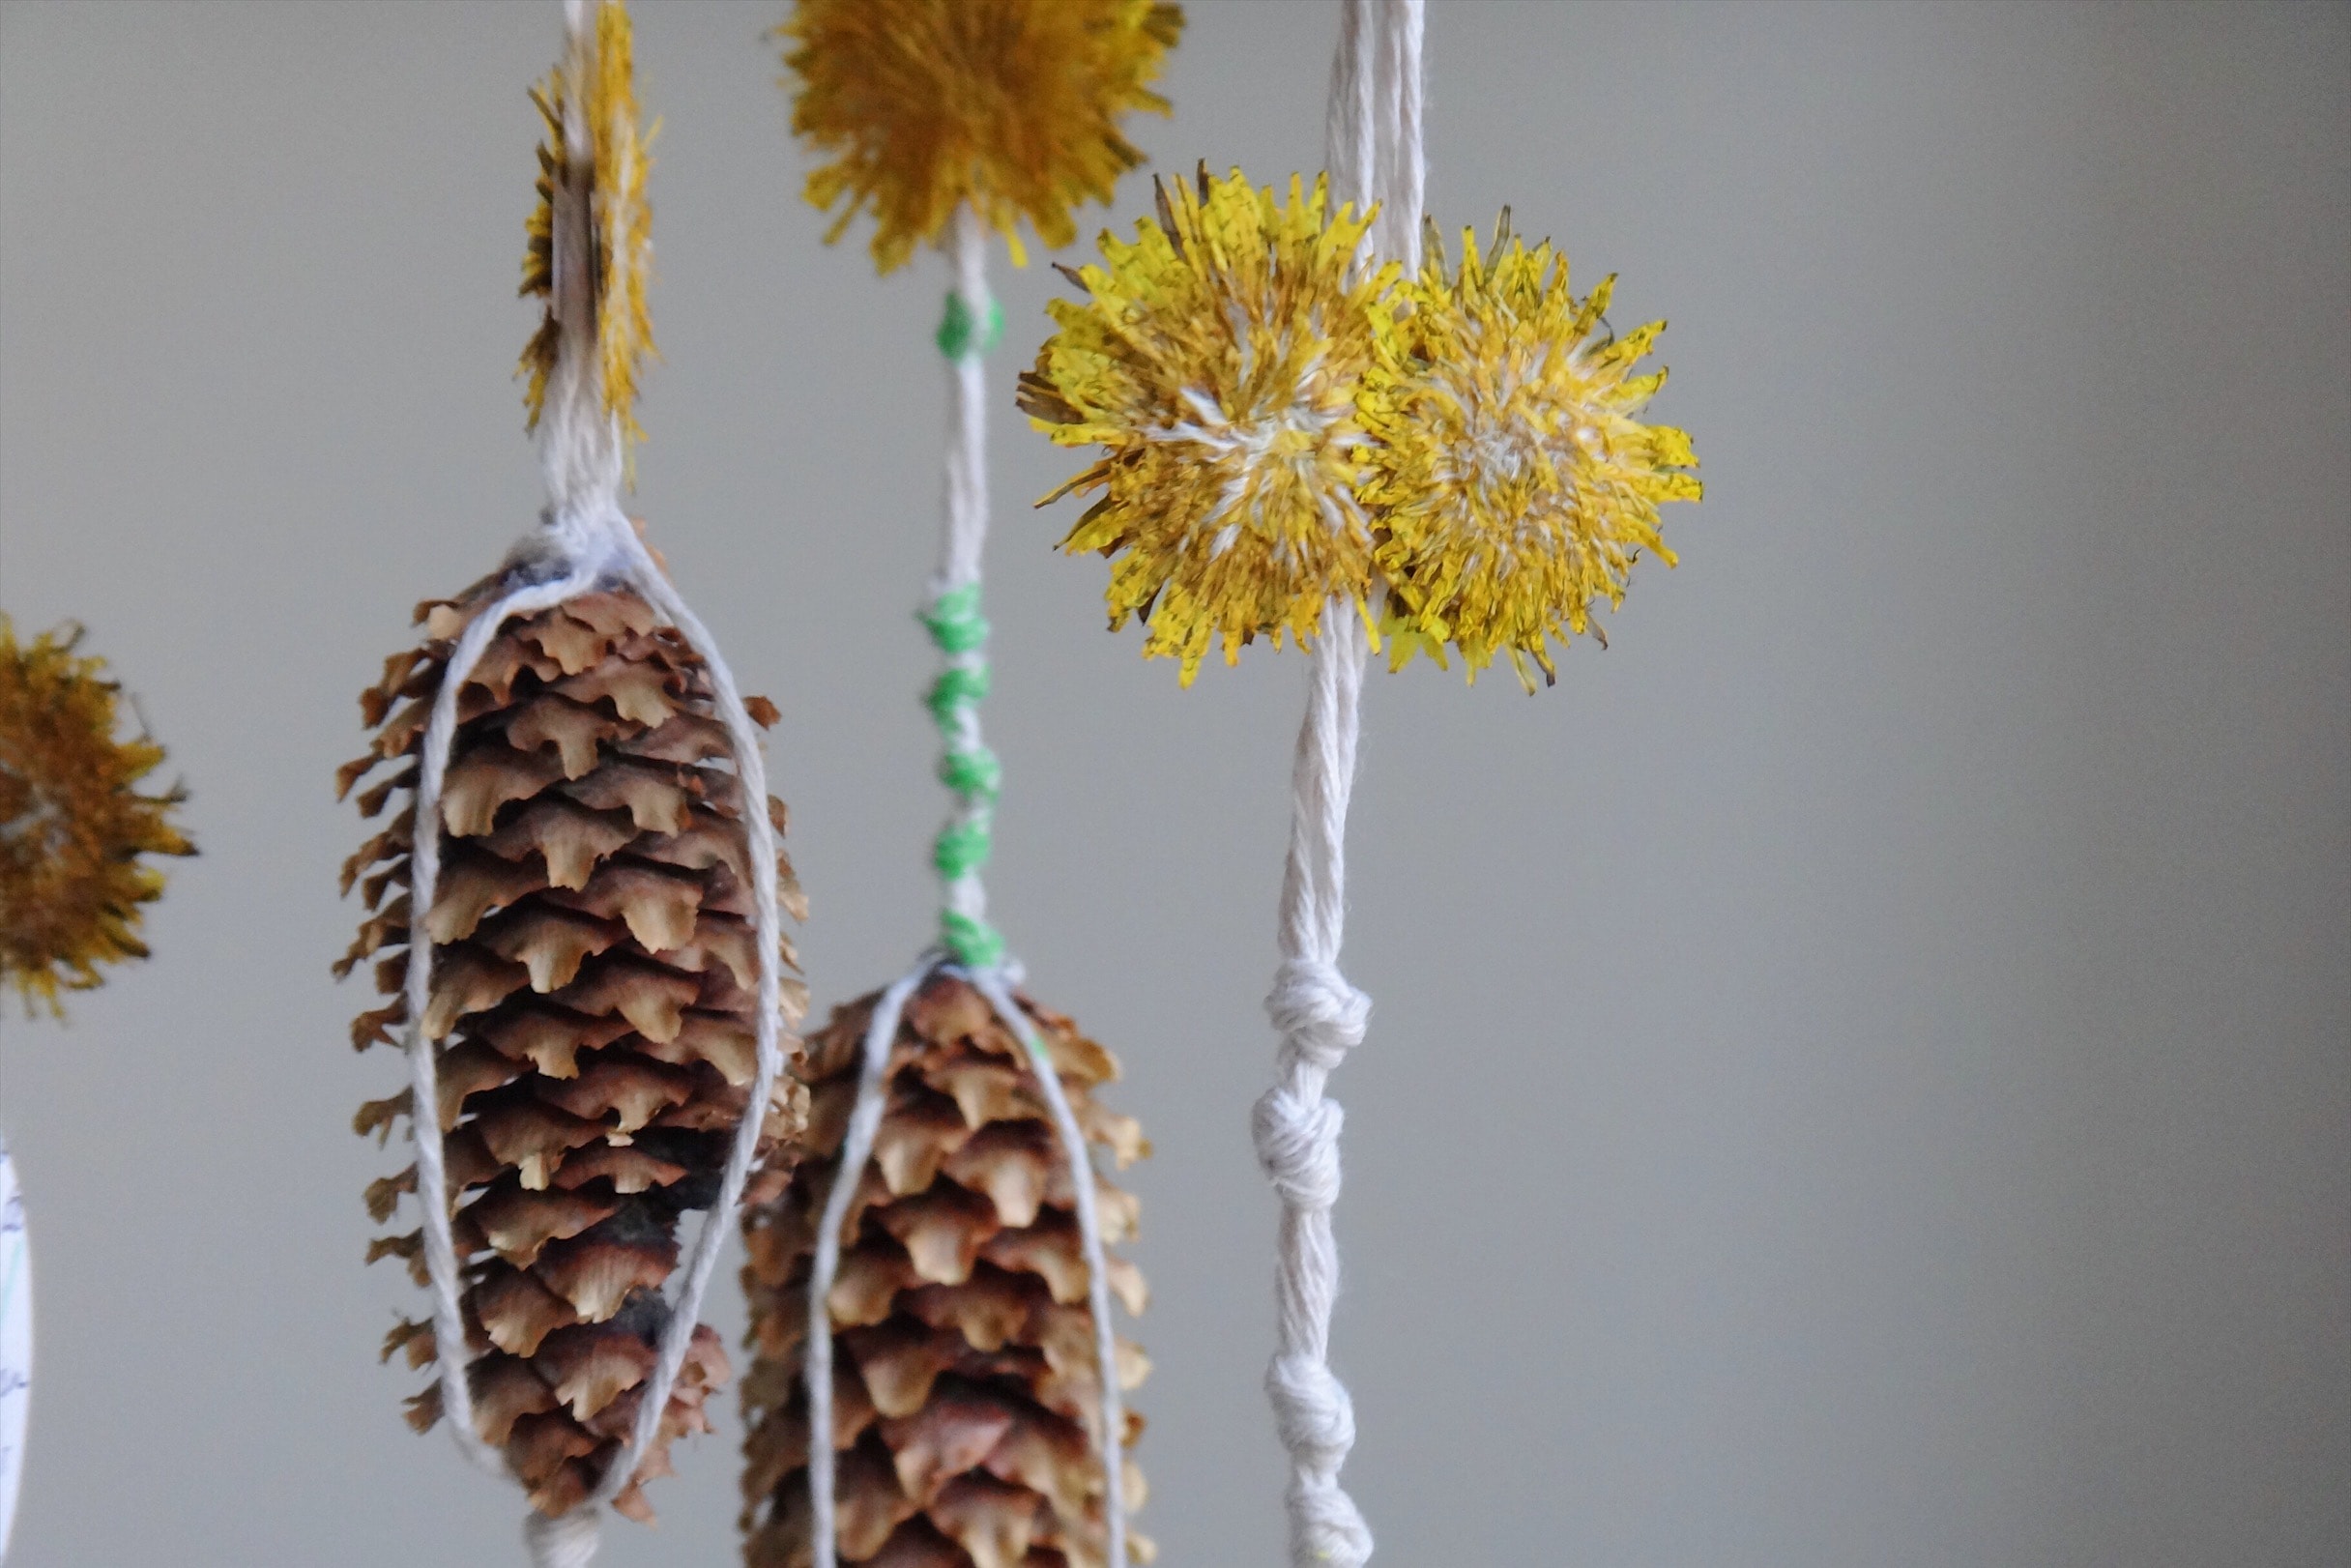
DIY Mobile: Multiculturalism in Motherhood through Exploration and Creation
by
Christine Reeve
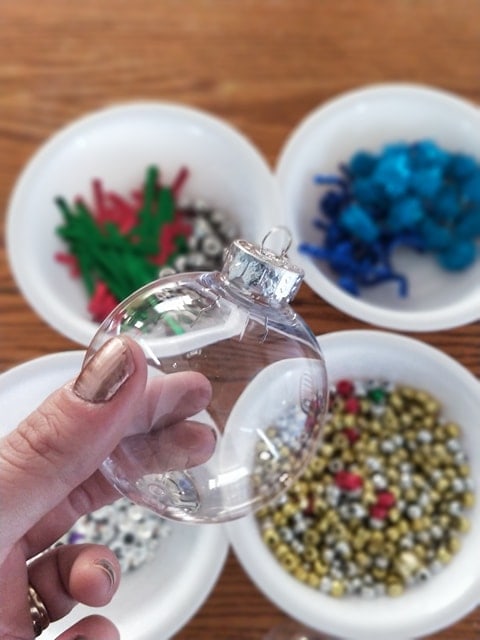
Easy DIY Projects For The Holidays
by
Alberta Mamas