Browsing Category:

Recipe

Affordable, Garfield-Approved Rolled Lasagna Recipe (Bonus: Hidden Veggies!)

Lasagna roll ups in the pan

Do you have a Garfield in your life? Someone who can’t resist a heaping plate of lasagna? I do! I’m married to a man who behaves just like the famous cartoon feline when it comes to this classic Italian dish.

But as much as my husband loves traditional lasagna, there’s one variation that has managed to make it to day three in our house: rolled lasagna.

The beauty of rolled lasagna is that it’s made up of individual portions, meaning you can control exactly how much you make and serve. This not only helps to prevent overeating, but also ensures that there will be leftovers for the next day (or two!). And lasagna is always better on day two.

Quick Tips for Lasagna Roll Ups

Before jumping into the recipe, here are a few quick tips to get you started:

  • Noodles: Try to avoid the no-boil noodles (I won’t judge if they’re already in your pantry and you pull them out – I just can’t promise this will turn out!). Boil them in water with a bit of salt (for flavour), according to package directions to al-dente.
  • Sauce: Pick your favourite tomato sauce. If it already has some meat or added veg, bonus!
  • Cheese: I hate ricotta, so I don’t cook with it. Sometimes I’ll sub in goat cheese if I find a sale, but usually stick to basic mozzarella and Parmesan. The more cheese you use the more expensive the dish becomes, so I try to balance flavour and cost.
  • Veggies: Chop them small, or through them through a food processor to really shred them. The smaller they are, the fewer protests from little beings I hear.
  • Serving: The beauty of rolls is portions are already set for you! My 6 and 9 year olds eat a roll each, and most adults will be satisfied with two. Garfield goes for 3 – this still left us with over half the dish for leftovers! The rolls can be cut with a fork, but if you like to preserve the layers a knife is a good idea.
  • Storage: You can prep this ahead of time and store it uncooked in the fridge with tinfoil on top for up to two days, or freeze it and cook it within three months (I love disposable pans or glass pans with a lid). Thaw frozen lasagna in the fridge overnight before cooking and bake according to recipe instructions. It’s also possible to cook it now, package into meal sized portions and freeze those for future lunches.
  • Reheating: A minute in the microwave is perfect for 1-2 lasagna roll ups from the fridge. If you slice up food for your kids it’s much easier to do while cold, so take care of that first!
    • If you prefer to use the oven, cover it with tinfoil, and bake at 350F for 20-25 minutes.
  • Make more and make ahead: I’ll triple up on this recipe and make three pans at once. One for dinner tonight, and two to go in the freezer. It’s a slightly longer day in the kitchen, but covers me for at least six meals. I can spend a bit of extra time cooking in one shot for that kind of freedom! It’s a rich meal, so we usually only have lasagna once a month.
Lasagna roll up in the pan

How to Make Rolled Lasagna (the wordy version)

  1. Boil the lasagna noodles. Lasagna noodles are large and prone to sticking together, so use your big soup pot for this.
    • Bring water to a boil.
    • Add about a tablespoon of salt before adding a dozen noodles.
    • Cook to al dente where they are flexible and roll-able but still firm. They will soften up more in the oven and absorb liquid from your sauce, so you don’t want them overcooked.
    • Drain and rinse with cold water. This stops the cooking process, removes excess starch, and makes them ready to handle right away. We don’t need burned fingers! Don’t skimp on the cold water, more is better. If your noodles are sticking, chances are you didn’t cool them down enough, or quickly enough.
  2. Meanwhile, make your sauce. Every fall I fill my freezer with a basic tomato with meat sauce made from my garden tomatoes, and often have some jars of meatless sauce in the cupboard (they’re great for travel!). Using that as a starting point, I prep the following extras:
    • Prep: Shred 2-3 carrots, 2-3 stalks celery, and an onion (a food processor is perfect for this!). Chop 4 cups spinach into 1/4inch ribbons.
    • In a large frying pan, cook carrot, celery and onion over medium heat for 3-5 minutes until softened.
    • If you want more garlic (aka you’re kids aren’t vampires who hate it), mince two or more cloves into the pan and cook until fragrant (about 30 seconds to a minute).
    • Add 1-2 pounds of ground beef, depending how meaty you want your lasagna and if the sauce you’re using already has meat in it. Cook until all the pink is gone.
    • If your sauce doesn’t have mushrooms in it, and they won’t cause a riot in your home, add a drained can of sliced mushrooms now. (Going fancy with fresh mushrooms? Add those before the garlic and cook down a bit before adding the meat.)
    • If you’re working from a jarred sauce or canned tomatoes (I love the ones with Italian spices already added – yay lazy cooking!) add them now and let everything simmer together for at least ten minutes. Add spices to taste (oregano, parsley, basil, rosemary, thyme, marjoram, etc).
    • Take off the heat.
    • Add chopped spinach and stir.
    • Add pre-made tomato sauce. This will reduce the temperature to make it easier to handle.
  3. All about cheese: You can do this before starting everything else, or mix it up while the meat is cooking. Or put an ambitious child to work. I like that last option best.
    • Chop 3 cups spinach into small 1/4 inch square-ish pieces (just make it small but not a paste, okay?).
    • In a medium bowl beat one egg.
    • Add chopped spinach, 1 cup shredded mozzarella, 1/4 cup Parmesan cheese, and either
      • another cup shredded mozzarella and 1 cup shredded cheddar,
      • a package ricotta (about 2 cups), or
      • a package goat cheese plus enough shredded mozzarella to make 2 cups.
    • Stir until well combined.
  4. Assemble your rolls of lasgana. This is a pretty easy process, but can be a bit messy.
    • Before starting on the rolls, spread a thin layer of sauce in the bottom of your baking dish. This is kind of like greasing the pan, but so much tastier! Get the sides, too if you can. Go for the runnier parts of your sauce for this. That makes the rest of your sauce thicker, and won’t leave the meat outside your rolls.
    • Lay three noodles out flat on a cutting board, a baking sheet, or right on the counter if you’re into that kind of clean up. Don’t put them in the pan yet, or you’re just going to make a mess of the sauce you just spread. And your fingers.
    • Divide your cheese mixture into quarters. Spread one quarter evenly over the three noodles.
    • Top generously with sauce.
    • Roll up tightly and place in the pan, seam down.
    • Repeat for the remaining nine noodles.
  5. Finishing the lasagna off with a topping of sauce (be extra generous around the edges and in the corners to help keep those spots soft – unless you you like crusty bits!), and a cup and a half of mozzarella.
  6. To bake any lasagna I like to edge the dish with tinfoil and then rest a sheet on top of that. This prevents the edges from overcooking.
    • In a pre-heated over, bake the lasagna for 45 minutes at 375F.
    • Remove the top sheet of foil and bake for another 5-10 minutes until the cheese is just starting to brown up.
  7. Serving the lasagna roll ups is easiest if you’ve let it rest for at least 15 minutes. You’re also less likely to burn your tongue! I like to use a knife to help separate the rolls, but they can come the pan with just a fork or spatula, and then you get the Instagram-worthy stretchy cheese.
Lasagna roll ups in the pan

Affordable, Garfield-Approved Rolled Lasagna Recipe

Prep Time: 45 minutes

Cook Time: 1 hour

Total Time: 1 hour, 45 minutes

Yield: 6 generous (but not Garfield-sized) servings

Ingredients

    Lasagna Noodles:
  • 12 dry lasagna noodles
  • 2 tablespoons olive oil
  • 1 tablespoon salt
  • Meat sauce:
  • 1 tablespoon olive oil
  • 2-3 carrots
  • 2-3 stalks of celery
  • 1 medium onion
  • 2-5 cloves garlic, minced
  • 1 can sliced mushrooms (or 2 cups fresh)
  • 1-2 pounds ground beef
  • 3 cups spinach
  • 4 cups tomato sauce
  • Cheese mixture:
  • 1 egg, beaten
  • 1 cup shredded mozzarella
  • 1/4 cup Parmessan
  • 3 cups spinach
  • 1 package ricotta cheese (about 2 cups) OR 1 cup shredded mozzarella and 1 cup shredded cheddar OR 1 package goat cheese plus enough shredded cheese to make 2 cups

Instructions

  1. Preheat oven to 375F
  2. Lasagna noodles:
  3. Bring a large pot of water to a boil. Add noodles, oil, and salt and cook to al dente, according to package instructions. Rinse noodles under cold water then sprinkle with olive oil to keep them from sticking together.
  4. Sauce:
  5. Shred veggies in food processor while heating up a large frying pan.
  6. Cook carrot, celery, and onion until softened (approx. 3-5 minutes).
  7. Add garlic and cook until fragrant (about 30 seconds).
  8. Add ground beef and cook until no longer pink.
  9. Add mushrooms and remove from heat.
  10. Add spinach and stir.
  11. Add prepared sauce.
  12. Cheese mixture:
  13. Combine beaten egg, cheese, and diced spinach in a medium bowl. Divide into quarters.
  14. Assemble rolled lasagna:
  15. Cover the bottom of casserole pan with a thin layer of sauce.
  16. Lay 3 noodles out flat on a cutting board. Evenly spread 1/4 of the cheese mixture between the three noodles (about 1/4 cup each). Top with sauce (~3-4 tablespoons). Roll up tightly and place in pan, seam down.
  17. Repeat for remaining 9 noodles.
  18. Spread remaining sauce over rolls. Sprinkle with 1 1/2 cups shredded mozzarella.
  19. Bake:
  20. Cover the pan with tinfoil and bake for 45 minutes.
  21. Uncover and bake another 5-10 minutes until the cheese begins to brown.
  22. Let cool for 15-20 minutes before serving.
https://www.albertamamas.com/lasagna-roll-up-recipe/

Did you make this recipe? Snap a photo and tag us on Instagram @albertamamas or share it on Pinterest.

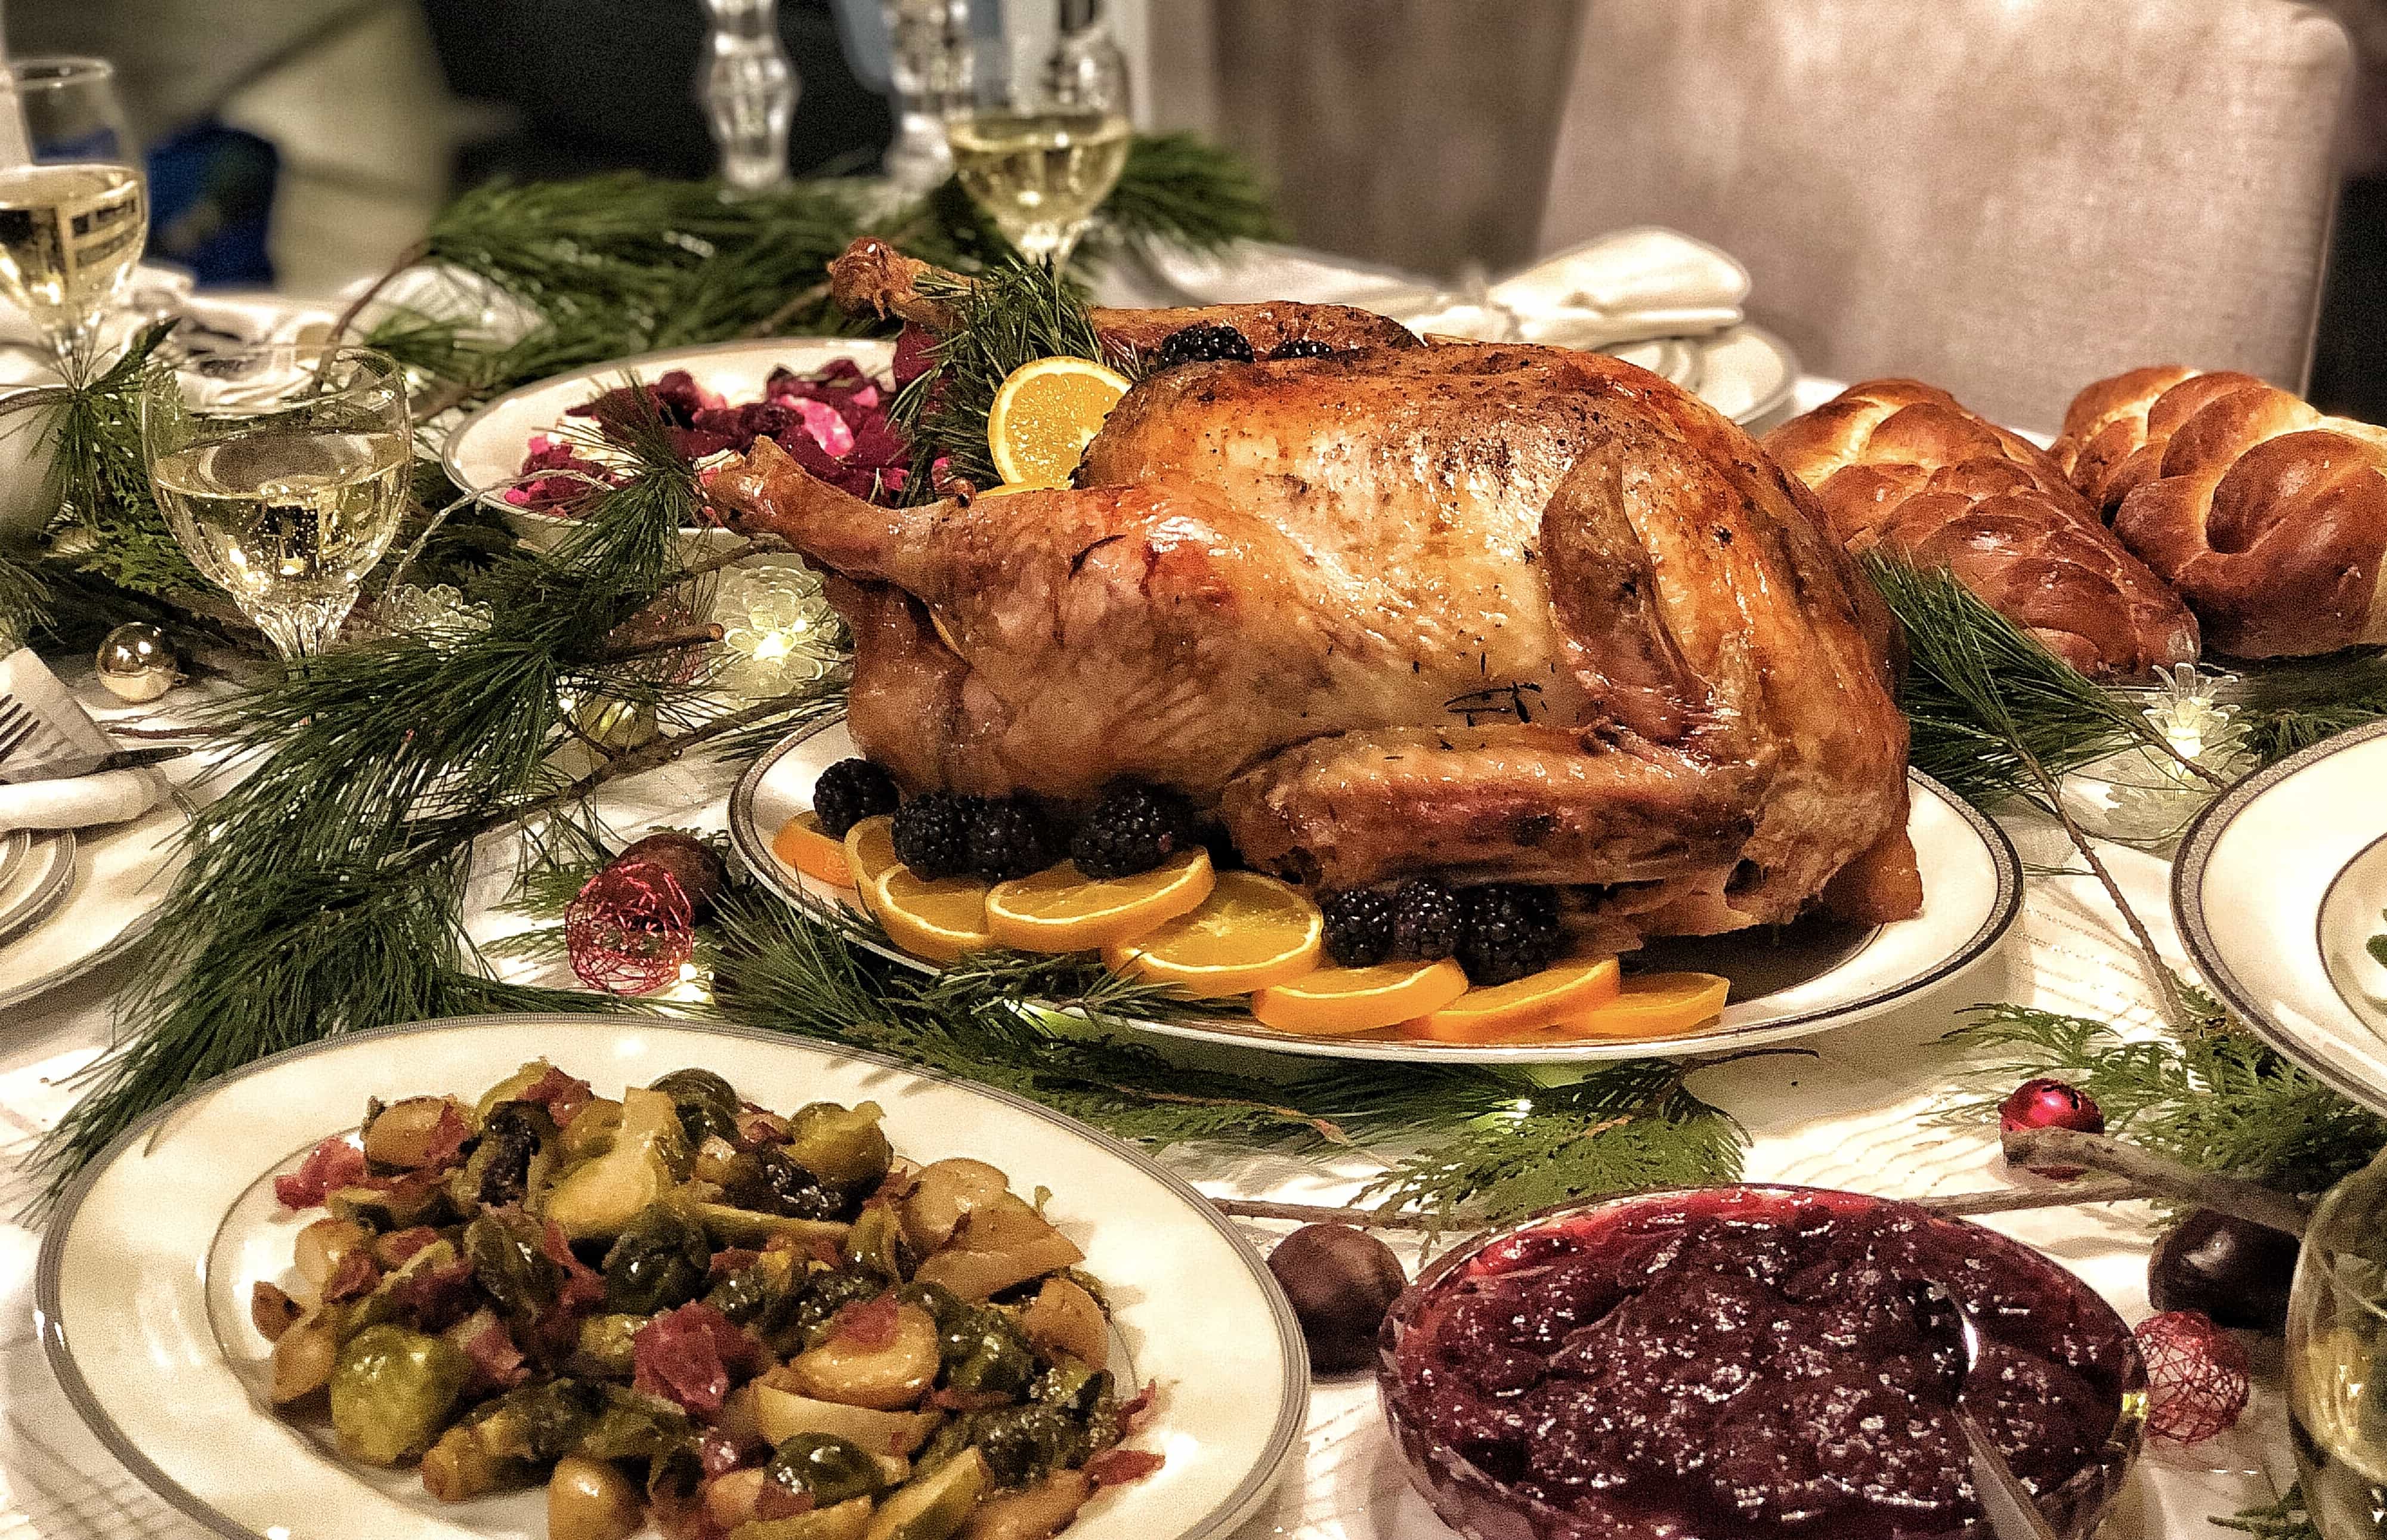
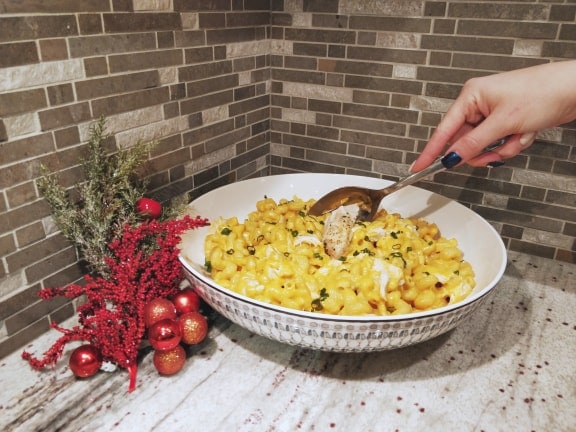
Instant Pot Turkey Buffalo Mac n Cheese – The Perfect Dish For Your Next Potluck Dinner

It’s hard to pick the perfect potluck dish. You want something easy to prep, a dish that will feed a crowd, and something that’s easy to transport.

Don’t worry Mamas, we’ve got you! We’ve partnered with Alberta Turkey and have created the perfect pot luck dish: Turkey Buffalo Mac n Cheese. And the best part? EVERYTHING was made in an Instant Pot because we know you have zero time this time of year. By using the Instant Pot we’ve also cut out on all the dishes you have to do. This is literally a one pot meal!

Read more

In Recipe

Bacon Skor Cookies with Chocolate

Bacon Skor Cookies with Chocolate Drizzle

I’m just going to get right to the point with this one because there is nothing worse than clicking on a recipe link and having to read through 7 paragraphs about how you organize your kitchen and are using new spoons now and then oh ya and here is the tiny little recipe at the very bottom. We know you’re here for the chocolate and bacon.

The Recipe:

  • 1/2 cup softened butter
  • 3/4 cup sugar
  • 3/4 cup brown sugar
  • 1 tsp vanilla
  • 2 eggs
  • 2 1/4 cup flour
  • 1 tsp baking soda
  • 10 oz skor bits
  • 1/2 cup bacon chopped finely
  • Chocolate chips or baking chocolate to drizzle over
  1. Cream sugar and butter together in an electric mixer.
  2. Add vanilla and eggs and whip together on medium high speed for at least 5 minutes. It seems long but spending the time now to fully whip together these ingredients will make for a softer, fluffier, and chewier cookie.
  3. In a separate bowl add all dry ingredients including skor bits and bacon. If you choose to add chocolate chips instead of drizzling chocolate at the end (saves some time!) add these now as well.
  4. Mix until just blended. DO NOT OVER MIX THIS PART.
  5. Roll into balls and place on a baking sheet. Bake at 350 for 10 minutes or less. The less you cook them the chewier they get.
  6. Drizzle chocolate over top.
  7. Hide half of them in a container so the kids can’t find and eat them all. Parenting during a pandemic is hard. You deserve to have cookies you don’t have to share.


Bacon Skor Cookies with Chocolate Drizzle

In Recipe

Lilac Sugar Recipe

Spring in Alberta means lilacs. Those fragrant little flowers start popping out in June and it seems like everywhere you walk you can smell them. Unfortunately the season is way too short. That is why we want to help you preserve the smell of Spring with this beautiful, easy recipe for Lilac Sugar.

Lilac Sugar can be used to replace regular sugar in cookies, biscuits, scones, tea, cocktails, salad dressing, marinades and more. Wherever a hint of floral, fragrance could be used to elevate your dish! The taste is not over powering but if you want just a bit you can always mix in half lilac and half regular sugar.

This will keep in the pantry for months so make a big batch (the recipe below is easily doubled, tripled or quadrupled depending on how many lilacs you can find!) and enjoy the smell of fresh, beautiful lilacs until they come back next year.

Lilac Sugar Recipe

1/4 cup Lilacs

3/4 cups Sugar

Step 1 – Pick the flowers you want to sugar. When you are using flowers for baking and cooking make sure you collect the flowers from an area you are familiar with so you know if they have been sprayed with any chemicals or toxins.

Step 2 – Pick off the flower parts from the stem trying to remove as much green stem as possible. If a little gets into the sugar it is OK but for looks you basically want just the flower. They are very easy to pull off with your fingers. Avoid using scissors as it will bruise the petals releasing the fragrance before you want to. If you can do this step outside it is best as tiny bugs and twigs will come out.

Step 3 – Rinse and wash the flowers to remove any other unwanted bugs, leaves, or twigs. Shake the flowers under a gentle stream of water to keep the flowers intact.

Step 4 – Spread the flowers evenly on a tea towel to dry for at least an hour. You want the flowers to have no excess water on the petals or your sugar will clump.

Step 5 – Once the flowers are dry layer the flowers and the sugar into a mason jar. Don’t worry about even layers as you will be shaking the jar over the next few days. Make sure to leave a few centimetres of room at the top of the jar to allow for movement when shaking.

Step 6 – Shake the contents of the jar every day for a week. I usually put the jar by the coffee maker to remind me to shake it every morning. As you go about your day if you walk past the jar give it a little shake too. The more you shake the more the flavours and fragrances come out. This is a great job for kids!

Step 7 – Once a week passes the sugar is ready! You can sift the sugar to remove the flowers and leave just the flavoured sugar or leave them in. They are edible and make a beautiful addition when you use the sugar.

Easy Alberta Turkey Meatball Appetizer AND a Giveaway

It’s Christmas Party Season! We love the holidays and all the opportunities it brings to be with our friends and family and that usually means sharing food together. Although we love attending all the parties we can, sometimes figuring out what dish to bring can be a daunting task especially as our to-do list grows and grows the closer we get to Christmas.

That is why we’re excited to partner with Alberta Turkey to bring you TWO easy, quick and delicious dishes you can enjoy at home or bring as a dish to share with your next party.

Read more

Cherry Tomato Bruschetta

Super quick and delicious bruschetta recipe using leftover or garden cherry tomatoes

I’m not sure whether it’s been the rain this year (there’s been little sunshine) or I just got lucky but I have a TONNE of cherry tomatoes in my back yard this year.

Read more

By /

Canning Party with Bernardin

Growing up I LOVED my moms strawberry freezer jam. I remember getting excited when I saw my Dad bring home cases of strawberries because it meant that we were making jam soon. We would spend hours in the kitchen together washing the jars, mashing the strawberries, stirring in the sugar, and pouring the jam into jars ready to be frozen. All while listening to Sunday morning classics on CFCW because it isn’t canning unless you’re listening to the oldest honky tonk music right?

I loved when our cousins, friends or Grandparents stopped by and were able to help too. Cooking is always better when you’re working in a group!

That is why we were so excited to host a canning party with Bernardin. We wanted to recreate that feeling of friends and family coming together to cook while getting the kids involved.

Read more

Sick of Making School Lunches? We’ve Got You Covered Until Summer Vacation!

It’s May and I don’t know about you guys but I am sick of making school lunches and the kids are tired of their lunches. But don’t worry we’ve got you covered with a list of easy, quick and fun lunches to carry you over until summer vacation!

  1. Wraps – The easiest transition from boring bread. Some favourites in our house are: banana and sunflower seed butter (school safe and same taste as wow butter without all the sugar), ham and cheese, jam, and cream cheese and cucumber.
  2. Crackers and cheese – Add pickles (if you’re kids are into it!), sausage, and their favourite crackers to make an easy lunch.
  3. Breakfast cookies – The kids will get a kick out of being able to eat cookies for lunch and you’ll feel great knowing they will be full and ready to take on their afternoons. There’s so many great recipes on Pinterest or you can check out the ones we love to make (and are SO easy to adapt to taste) here.
  4. Cereal – Keeping with the breakfast theme, send individual packs of cereal with them to school for lunch! Keep it simple and let them eat it dry or send some milk in a thermos.
  5. Leftovers – This one is best if the kids have access to a microwave but is such a time saver if you can make it work!
  6. Pizza Roll Ups – This is a little more prep but can be made ahead in big batches and can be kept in the freezer until you want to use them. Get pizza dough (make it yourself or pick it up pre-made at the store), roll it out, lay down your favourite toppings, roll it up (think cinnamon bun rolling), slice into even pieces, lay out on a lined baking sheet and bake. So easy and delicious!
  7. Muffins – Cram them full of good, healthy ingredients and they won’t miss their sandwiches at all AND they will stay full until the end of the day.
  8. Mini Pancakes – Make the night before to make the morning easier, add some fruit and the kids have a fun, easy lunch.
  9. Pita Bread and Hummus – The EASIEST lunch for those days when you just don’t have time. Bonus if you have those individual packs from Costco. Even a two year old can pack this easy lunch!
  10. Let Them Choose – Give them parameters (has to include all the food groups for example) but them let them go wild. No restrictions. It is always interesting to see what combination they come up with!

We hope some of these give you inspiration to get through the school year! We’d love to hear what your kid’s favourite lunches are. Share below!

Can we also agree that the cute shapes, googly eyes, and over the top bento boxes be done for the year? No one needs that pressure right now. Save it for September Karen.


Box Social Event Planning

Deanne Ferguson is the owner of Box Social Event Planning. When she is not planning fun, family, friendly events she is finding the yummiest food for the Edmonton Home and Garden Show Food Stage. She loves her #cocktailsMonday dates with her husband and chasing around her two boys. You can find her at @DeanneFerguson on Instagram and @BoxSocialYEG on Twitter.